How to Do a Face Skin Analysis (Step-by-Step Guide)

In this guide, we’ll share a step-by-step skin analysis process you can use in a clinic—or adapt at home—so your routine follows real patterns, not trial and error.
What Is Skin Analysis?
Skin analysis is a simple way to “read” what your skin is doing right now—using what you can see on the surface and the patterns you notice across different areas of the face. It usually involves checking how oil and moisture show up (shine vs. tightness), how the texture looks and feels, whether pores seem clear or clogged, where redness or sensitivity tends to appear, and how pigmentation or uneven tone is distributed.

The purpose isn’t to diagnose medical skin conditions, but to identify what your skin needs most and avoid trying to fix everything at once. It helps you build a routine with a clear priority—like supporting the skin barrier, managing breakouts, or improving dullness—and gives you a consistent baseline. When you repeat the same check over time, you can tell whether you’re seeing real improvement, not just a temporary “good skin day.”
Step 1: Cleanse & Prepare
Before you begin your skin analysis, the goal is straightforward: you want to see the skin itself—not makeup, sunscreen, or leftover product. Cleanse thoroughly to remove SPF and base makeup (a double cleanse is especially helpful for long-wear products). Then gently pat the skin dry and wait 10–15 minutes so it can settle, rather than judging oiliness or dehydration based on that brief “just washed” tightness or shine.

For the most accurate read, skip heavy creams or facial oils right before the assessment. It also helps to note anything that might skew what you’re seeing—recent exfoliation, retinoid use, chemical peels, or sun exposure/sunburn can temporarily change how the skin looks and feels. Finally, use good lighting and keep hands and tools clean so the skin analysis stays consistent, clear, and hygienic.
Step 2: Facial Skin Analysis with Magnification
For this part of your facial skin analysis, you’re simply getting a clearer view of what’s already there. Using a magnifying lamp (or a basic skin scope), scan the face slowly and look for bigger patterns instead of getting distracted by one-off marks. Pay attention to where shine shows up first, where the skin looks tight or flaky, and whether fine dehydration lines become more obvious with facial movement.

Next, focus on the details that will actually guide your recommendations: how pores differ by area (more open, more congested, or mostly clear), where texture feels uneven (tiny bumps, rough patches), which zones look easily irritated (diffuse redness, reactive spots, visible capillaries), and how pigmentation is distributed (freckles, sun spots, post-acne marks, general uneven tone). Take a few consistent photos and short notes in the same angles and lighting—so your facial skin analysis gives you a dependable baseline to track later.
Step 3: Skin Analysis Equipment(Add Data to What You See)
Once you’ve finished the visual check, adding skin analysis equipment helps make your assessment more consistent and easier to track. The biggest benefit is standardization—same lighting, distance, and angles—so you’re less likely to mistake a change in environment for a change in skin.
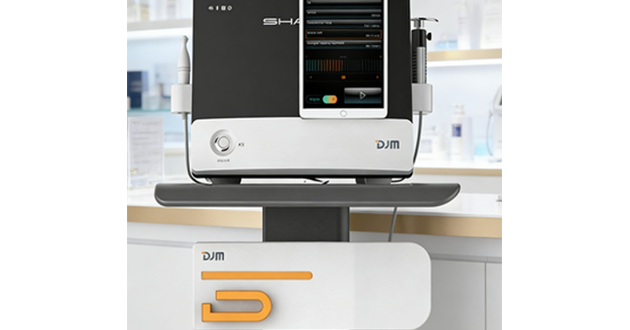
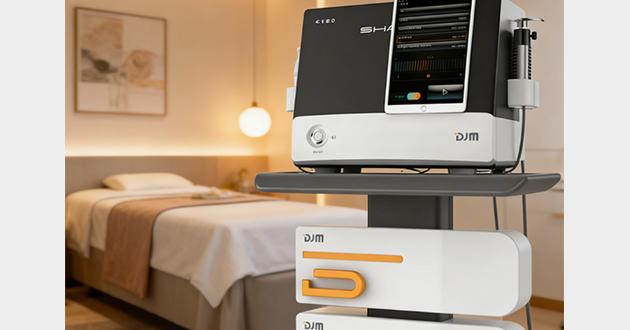
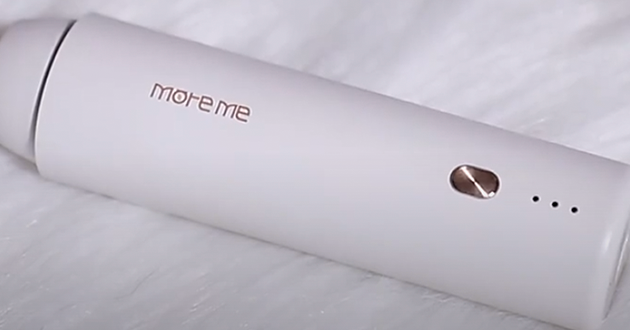
With the iMoreMe Smart Skin Analyzer, the skin analysis equipment captures images across multiple lighting modes (daylight, polarized views, and brief UV/Wood’s light imaging), which can separate surface glare from underlying patterns. This is especially helpful for understanding distribution—where redness tends to cluster, how pigmentation is spread, and which zones repeatedly show congestion signals—so you’re responding to real trends rather than one-off “bad skin days.” The device’s outputs (hydration/oil tendencies, pore/texture scoring, redness mapping, pigment distribution) are most useful when you treat them as a baseline and compare the client to themselves over time.

One practical reminder: people who try different AI/photo-based “skin analysis” tools at home often report inconsistent results from app to app—scores jumping around, zones being misread, even false detections on non-skin objects. That’s why skin analysis equipment should support your judgment, not replace it. For the most reliable data, keep conditions consistent (similar time of day when possible, makeup-free, similar skincare state), scan only after the skin has settled, and focus on repeatable patterns and directional change—not a single “perfect” number.
If you want to read about skin analysis reddit forums,you can click to it:
Step 4: Skin Care Analyzer by Touch & Feel
This part of skin care analyzer is about backing up what you saw with gentle touch—because photos can’t tell you how skin actually behaves. With clean hands (or gloves), lightly glide and press over a few key areas (forehead, cheeks, sides of the nose, chin). You’re checking whether roughness is mostly a dry, “papery” surface feel (often dehydration or barrier stress) or whether there’s a subtle, under-the-skin bumpiness that suggests congestion. You can also sanity-check “oiliness” by lightly sweeping a fingertip or blotting: true oil tends to feel slick, while some shine is simply light reflecting off smoother or tighter skin.

Next, focus on resilience and comfort—two things that matter in any skin care analyzer but don’t always show clearly on camera. Gently press and release to observe rebound (elasticity/firmness), and ask what the client notices between visits: tightness after cleansing, stinging with actives, itchiness, or easy flushing. Those everyday sensations often point to barrier strain even when the skin looks calm. Keep this step light and confirmatory rather than corrective—avoid squeezing or digging, which can trigger redness and distort the baseline you’re trying to assess.
Step 5: Skin Analysis Zone Mapping (Stop Treating the Face as One Skin Type)
Most faces don’t act like one single “skin type,” so this part of skin care analyzer is about mapping where each concern shows up. Go zone by zone—forehead/T-zone, nose, cheeks, jawline/chin, and under-eye—and write down what’s most noticeable in each area: shine vs. tightness, pores that look relatively clear vs. more congested, where texture becomes rough or bumpy, where redness tends to sit, and how uneven tone or pigmentation is distributed. This is usually where the real story becomes obvious—like an oily T-zone with dehydrated cheeks, congestion that consistently collects around the chin/jawline, reactive redness on the cheeks, or an under-eye area that needs a gentler approach than the rest of the face.

This step also prevents “false confidence” from quick snapshot readings. In a Reddit discussion about AI skin analysis equipment, people shared that one-shot scans can miss or misread certain areas—especially the forehead and jawline—depending on the angle, lighting, or how the app maps the face. A manual zone map keeps you grounded: you’re checking every region on purpose, in the same way, every time—so your plan is based on repeatable patterns, not a single imperfect scan.
Step 6: Skin Analysis Consultation (Turn Findings into a Plan)
Now bring your facial skin analysis back to real life. Review the client’s current routine (what they use and how often), known sensitivities, sunscreen habits, sleep/stress, hydration and diet patterns, cycle/hormonal shifts (if relevant), and any recent treatments (facials, peels, lasers, prescriptions). Then choose one or two priorities to start with—because trying to fix everything at once usually creates irritation and makes results harder to interpret.

From there, build a plan the client can actually stick to: a simple AM/PM foundation (cleanse, moisturize, SPF), plus one targeted treatment step with clear tolerance rules—how to introduce it, how often to use it, and what to pause if irritation shows up. Set realistic expectations and schedule a follow-up—often 4–6 weeks—so your next skin analysis reflects true progress, not just a short-term change.
Read more:
https://www.djmimoreme.com/resources/blog/is-a-skin-analysis-worth-the-cost.html
Conclusion
At its best, skin analysis isn’t about chasing perfect scores or over-correcting every “issue”—it’s about finding the few patterns that actually matter and turning them into a simple, sustainable plan. When you cleanse properly, observe with intention, confirm with touch, map by zones, and review lifestyle + routine, you get a baseline you can trust.
Table of Contents
Related information


How can we help you?
Have specific questions or requests? Fill out our inquiry form, and our dedicated team will get back to you promptly. Your inquiries are important to us, and we are committed to providing comprehensive and personalized responses tailored to your needs.


 Reach out to us today!Whether you are preparing to start your own
business in the beauty industry, are ready to upgrade your
equipment, or are just interested in our products,Contact us
today, and let’s explore how we can partner to achieve your goals
and drive your success to new heights!
Reach out to us today!Whether you are preparing to start your own
business in the beauty industry, are ready to upgrade your
equipment, or are just interested in our products,Contact us
today, and let’s explore how we can partner to achieve your goals
and drive your success to new heights!